Autumn is probably my favourite season. I love that the leaves are turning all shades of yellow, red and brown. That it’s cold enough to get my wool cardigans and scarves out again. But I also love the cosiness of lighting candles, hunkering indoors and picking up a creative project.
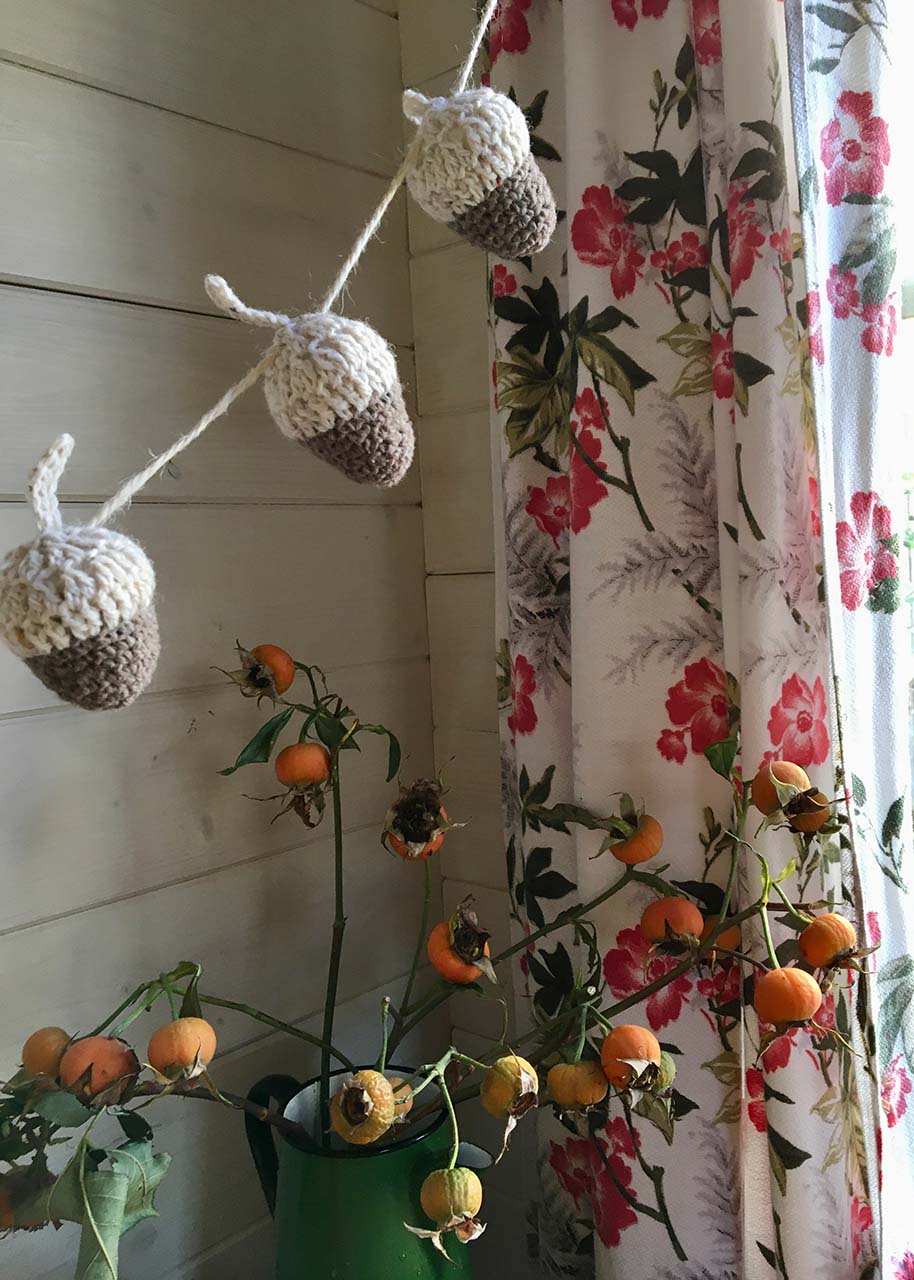
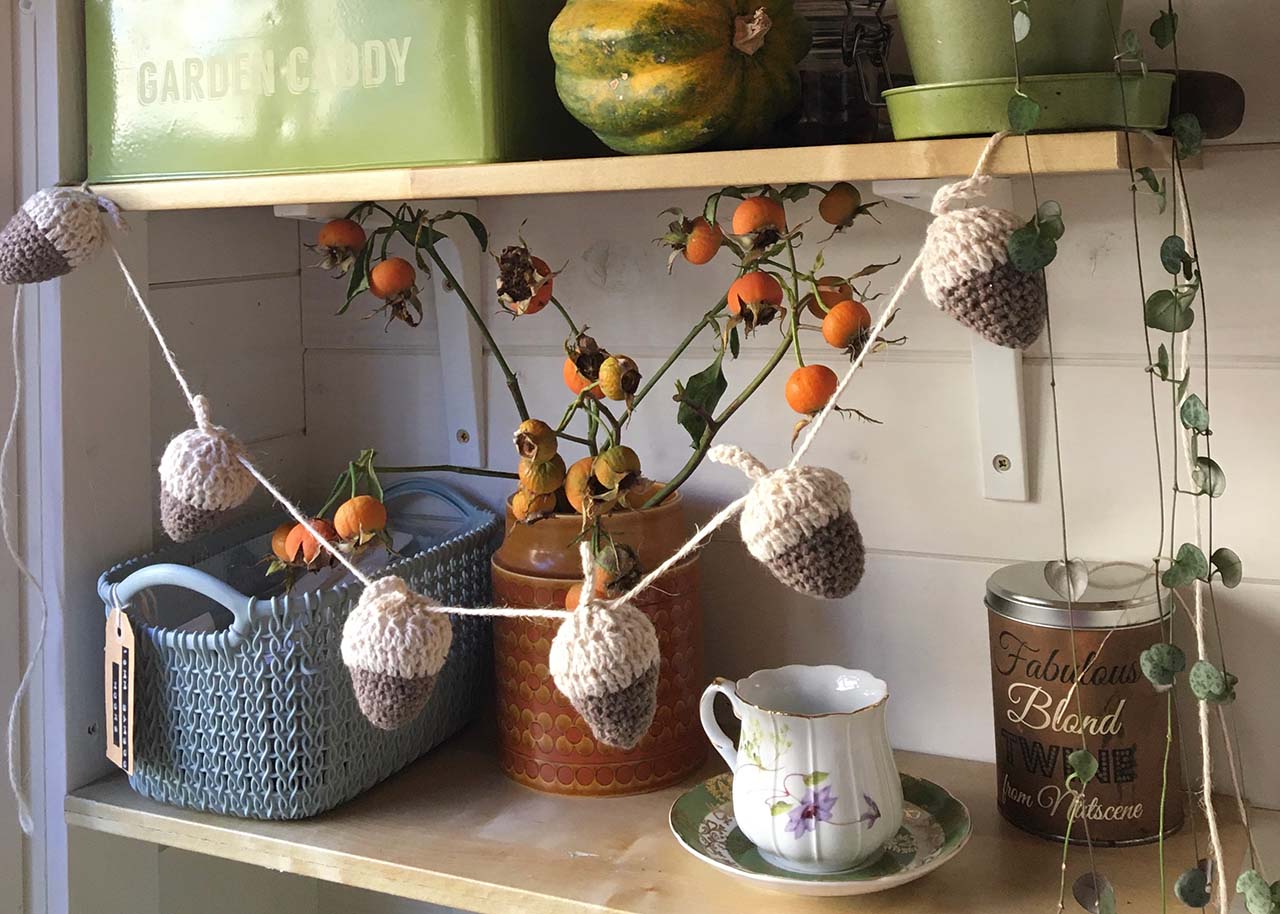
One piece of nature in particular is, for me, the embodiment of this season: the acorn. That’s why I chose it for our logo. Apart from the symbolism that’s attached to it (small acorns turn into mighty oaks) they just look adorable with their little cap on! Therefore, I’m thrilled that Anna from Homebird Craft designed a crochet acorn garland pattern for readers of The Slow Living Guide. Make yourself a cuppa, get your hooks out and get started on this lovely creative autumn project. You can find the instructions below.
Getting started with your acorn garland
 |
Materials
You can use any colour combination. |
1. Making the acorn
- Using colour 1 make a magic loop
- Round 1 – 4 double crochet into the loop, close the loop up (4)
- Round 2 – 2 double crochet into each stitch (place a marker in the first stitch of each round) (8)
- Round 3 – *1 double crochet into the first stitch, 2 double crochet into the next. Repeat from the * to end of the round (12)
- Round 4 – 1 double crochet into each stitch (12)
- Round 5 – *1 double crochet into the first stitch, 2 double crochet into the next. Repeat from the * to end of the round (18)
- Rounds 6-8 – 1 double crochet into each stitch (18)
- Slip stitch into the next 2 stitches and fasten off.
2. Making the acorn cup
- Round 9 – Join colour 2 and chain 2, *2 treble crochet into the next st, 1 treble crochet into the following stitch, repeat from * to the end of the round, slip stitch in the top of chain 2 (27)
- Round 10 – Chain 2, *2 treble crochet together in the next 2 stitches, repeat from * to end of the round, slip stitch in top of chain 2 (13)
- Round 11 – Chain 2, *2 treble crochet together in the next 2 stitches, repeat from * to end of round, slip stitch in top of chain 2, fasten off leaving a long tail (6)
- Finish stuffing then thread the tail on to a needle and weave in and out through the remaining 6 stitches. Gather to close the hole and fasten off securely.

3. Making the stem
Take a length of yarn in colour 2, make a slip knot and chain 7, slip stitch into the second and each chain and fasten off. Thread the ends onto a needle and sew on to the cup.
4. Attaching the string
Make your garland as long as you like with as many acorns as you fancy making. I made 6 acorns and cut a piece of string 150cm long. Thread your acorns onto the string using a darning needle and space them as you like, mine are approximately 12cm apart. The rough texture of the string should keep the acorns in place but you can always use a little knot or stitch if you need to.
Anna says: ‘I hope you enjoy making your garland and would love to see a photo. If you post it on Instagram please tag me @homebirdcraft and use the hashtag #homebirdcrochet
If you have any questions or want to contact me I’d love to hear from you.’
This pattern is for personal use only. Sharing, copying, selling and distributing this crochet pattern or any items made from the pattern without consent is prohibited.
Anna is a teacher and it’s her mission to pass on the craft of crochet through her small business Homebird Craft. She offers 1:1 tuition, workshops, kits and patterns.
Would you like to receive inspiration from The Slow Living Guide regularly?
Sign up for the newsletter here.


